


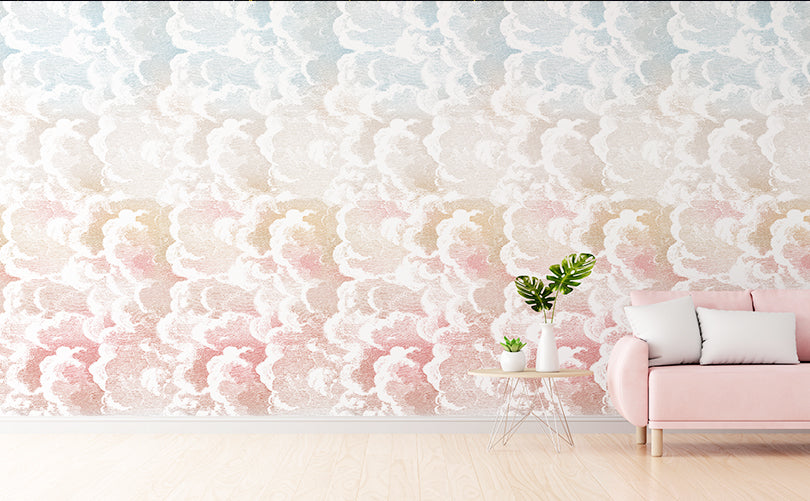
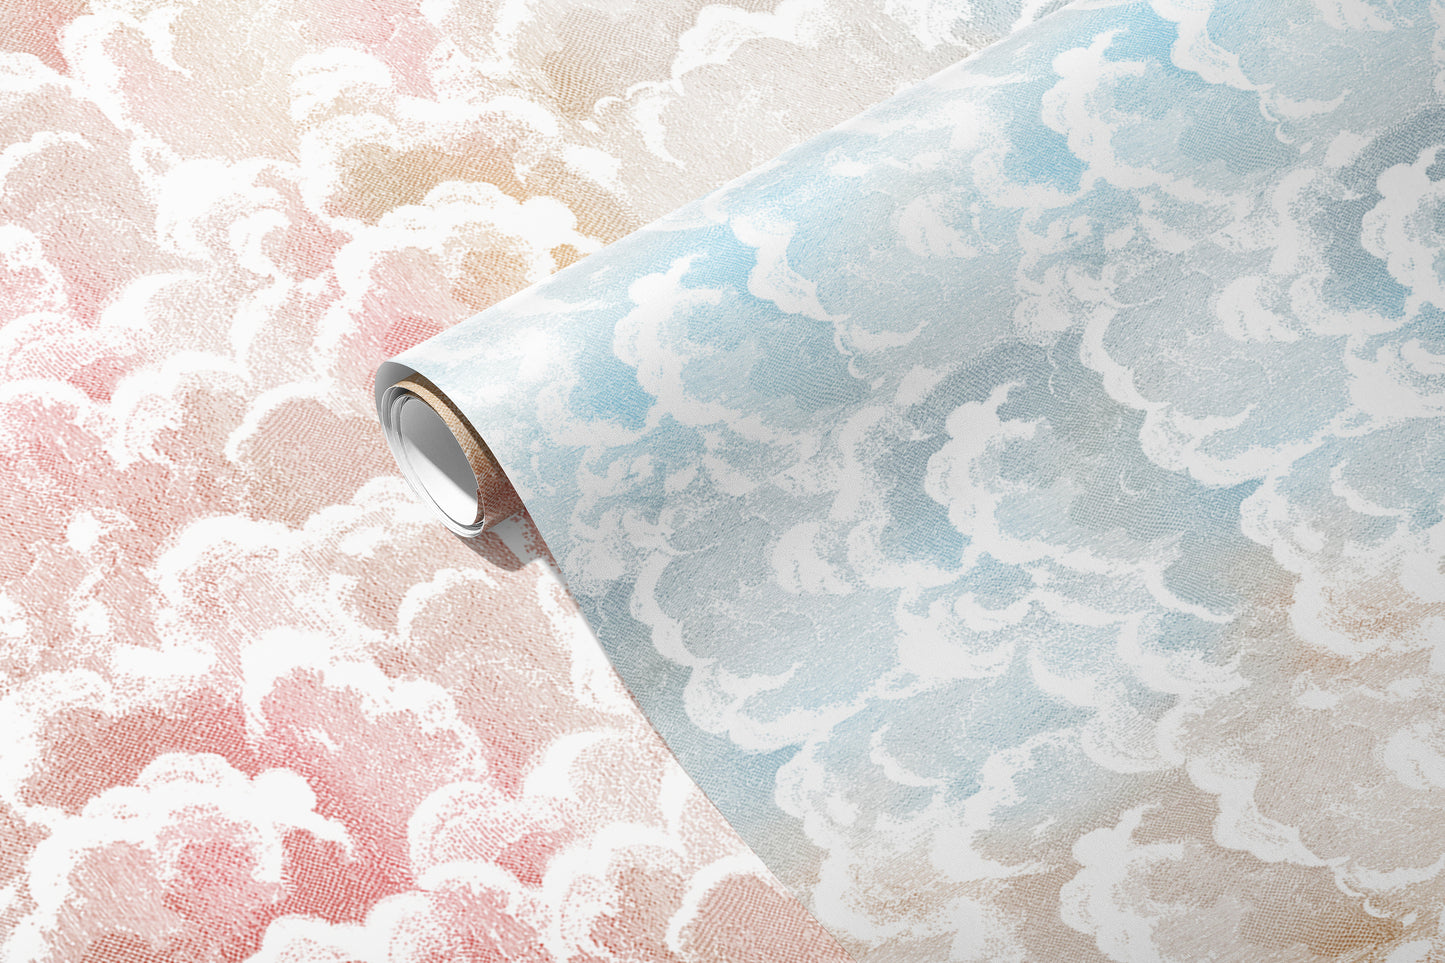
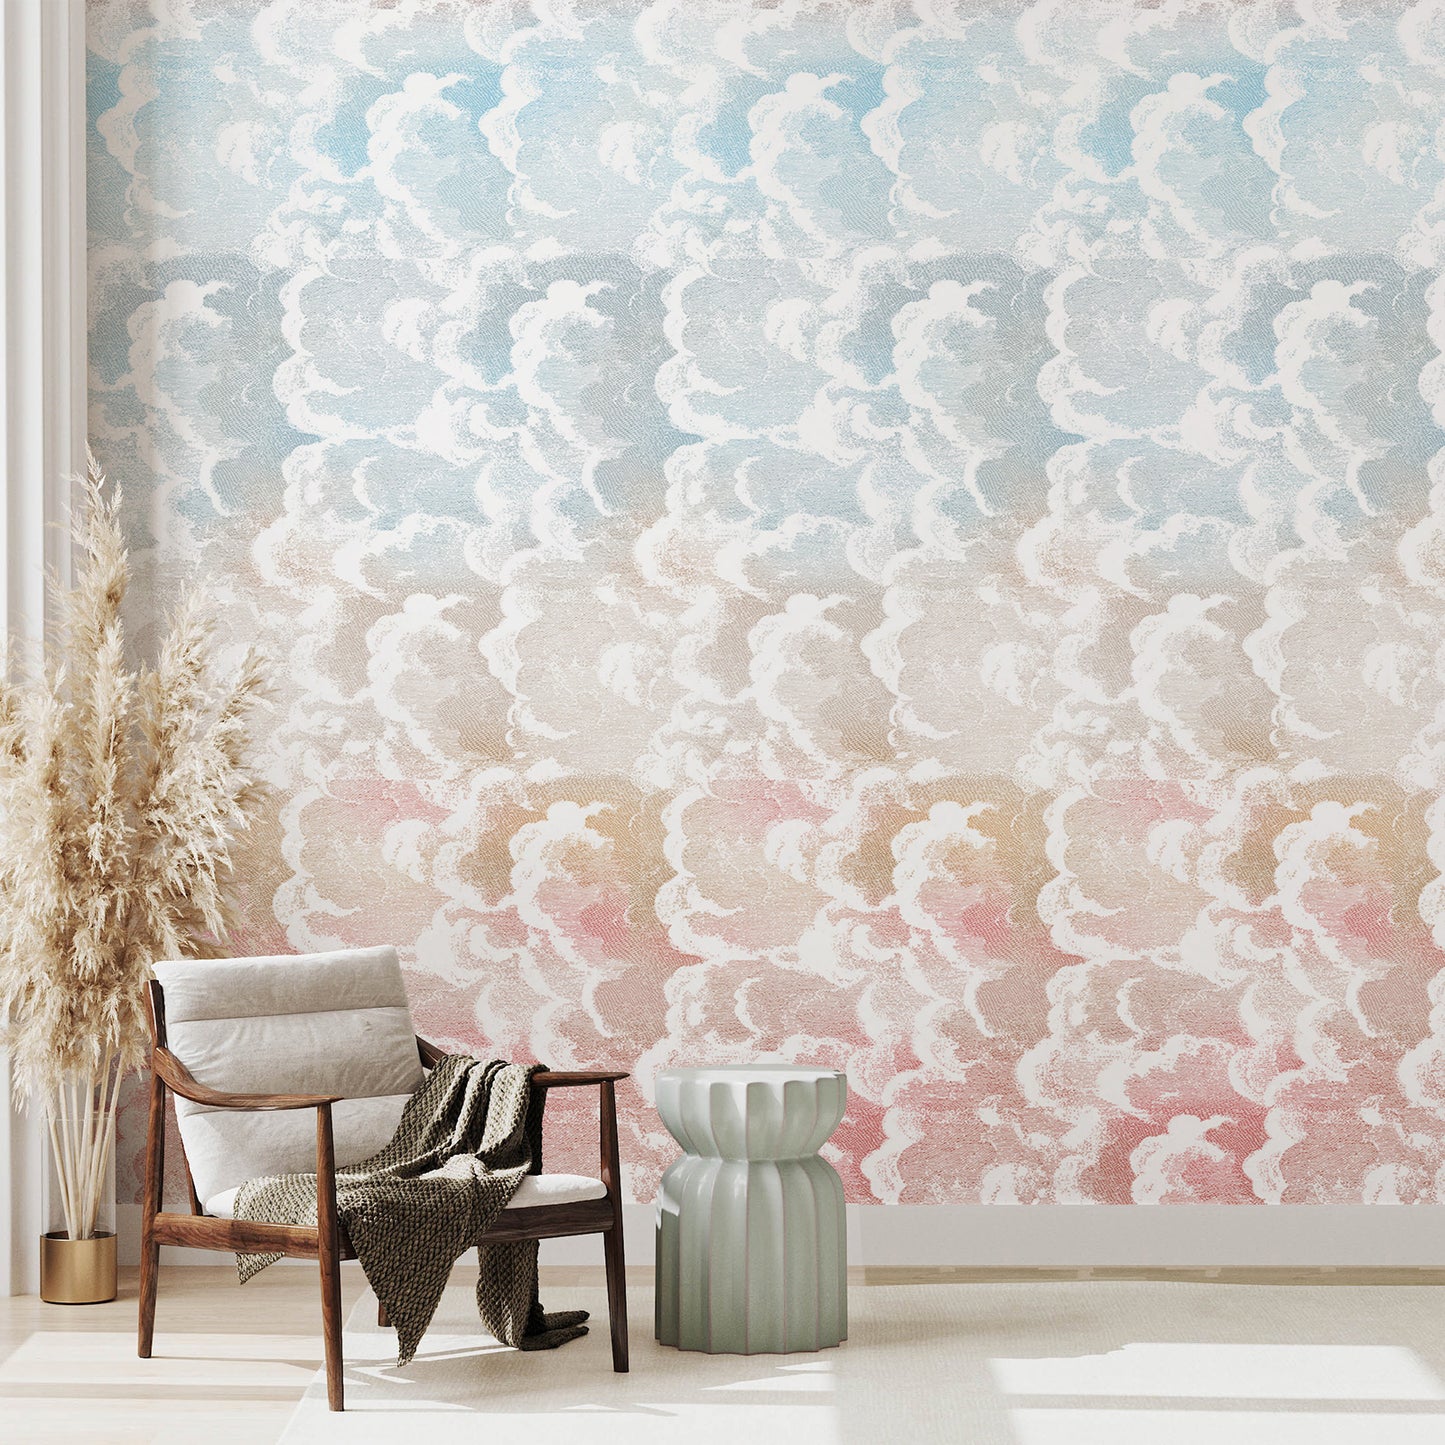
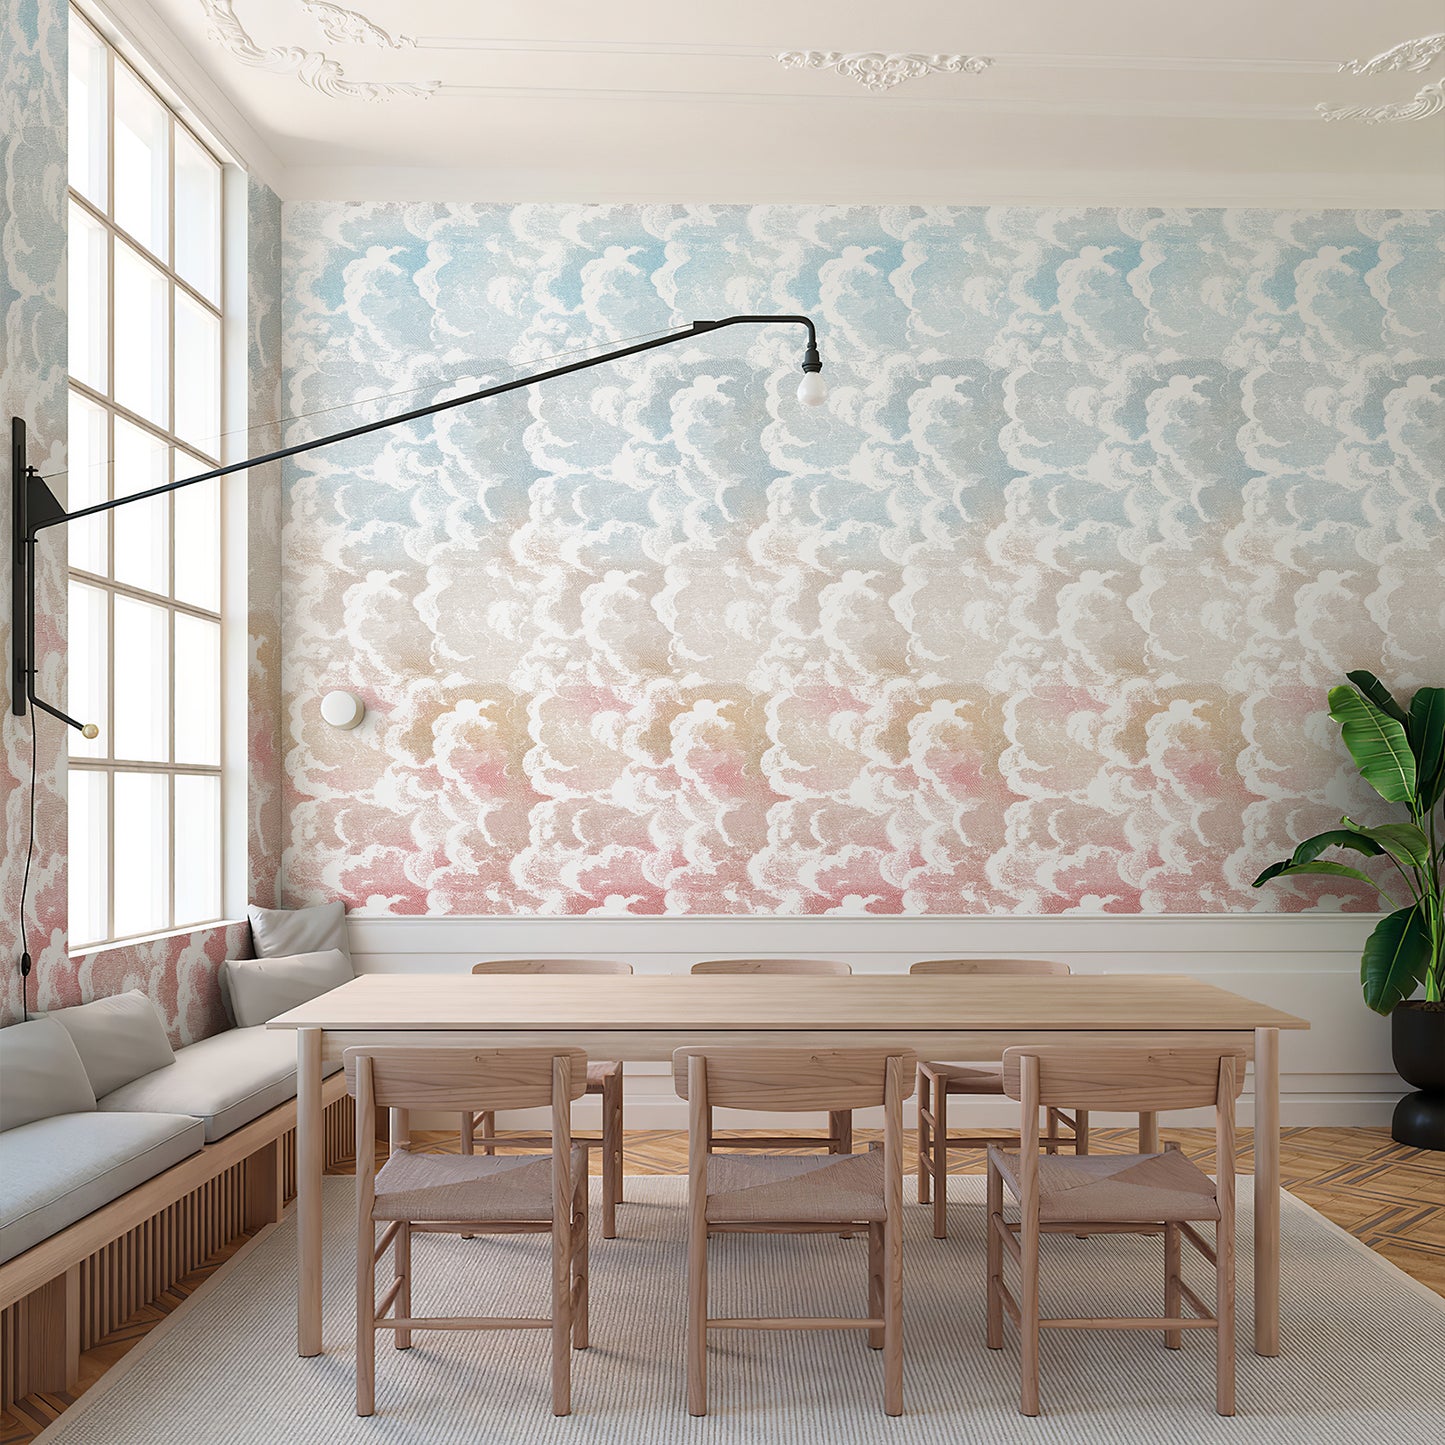
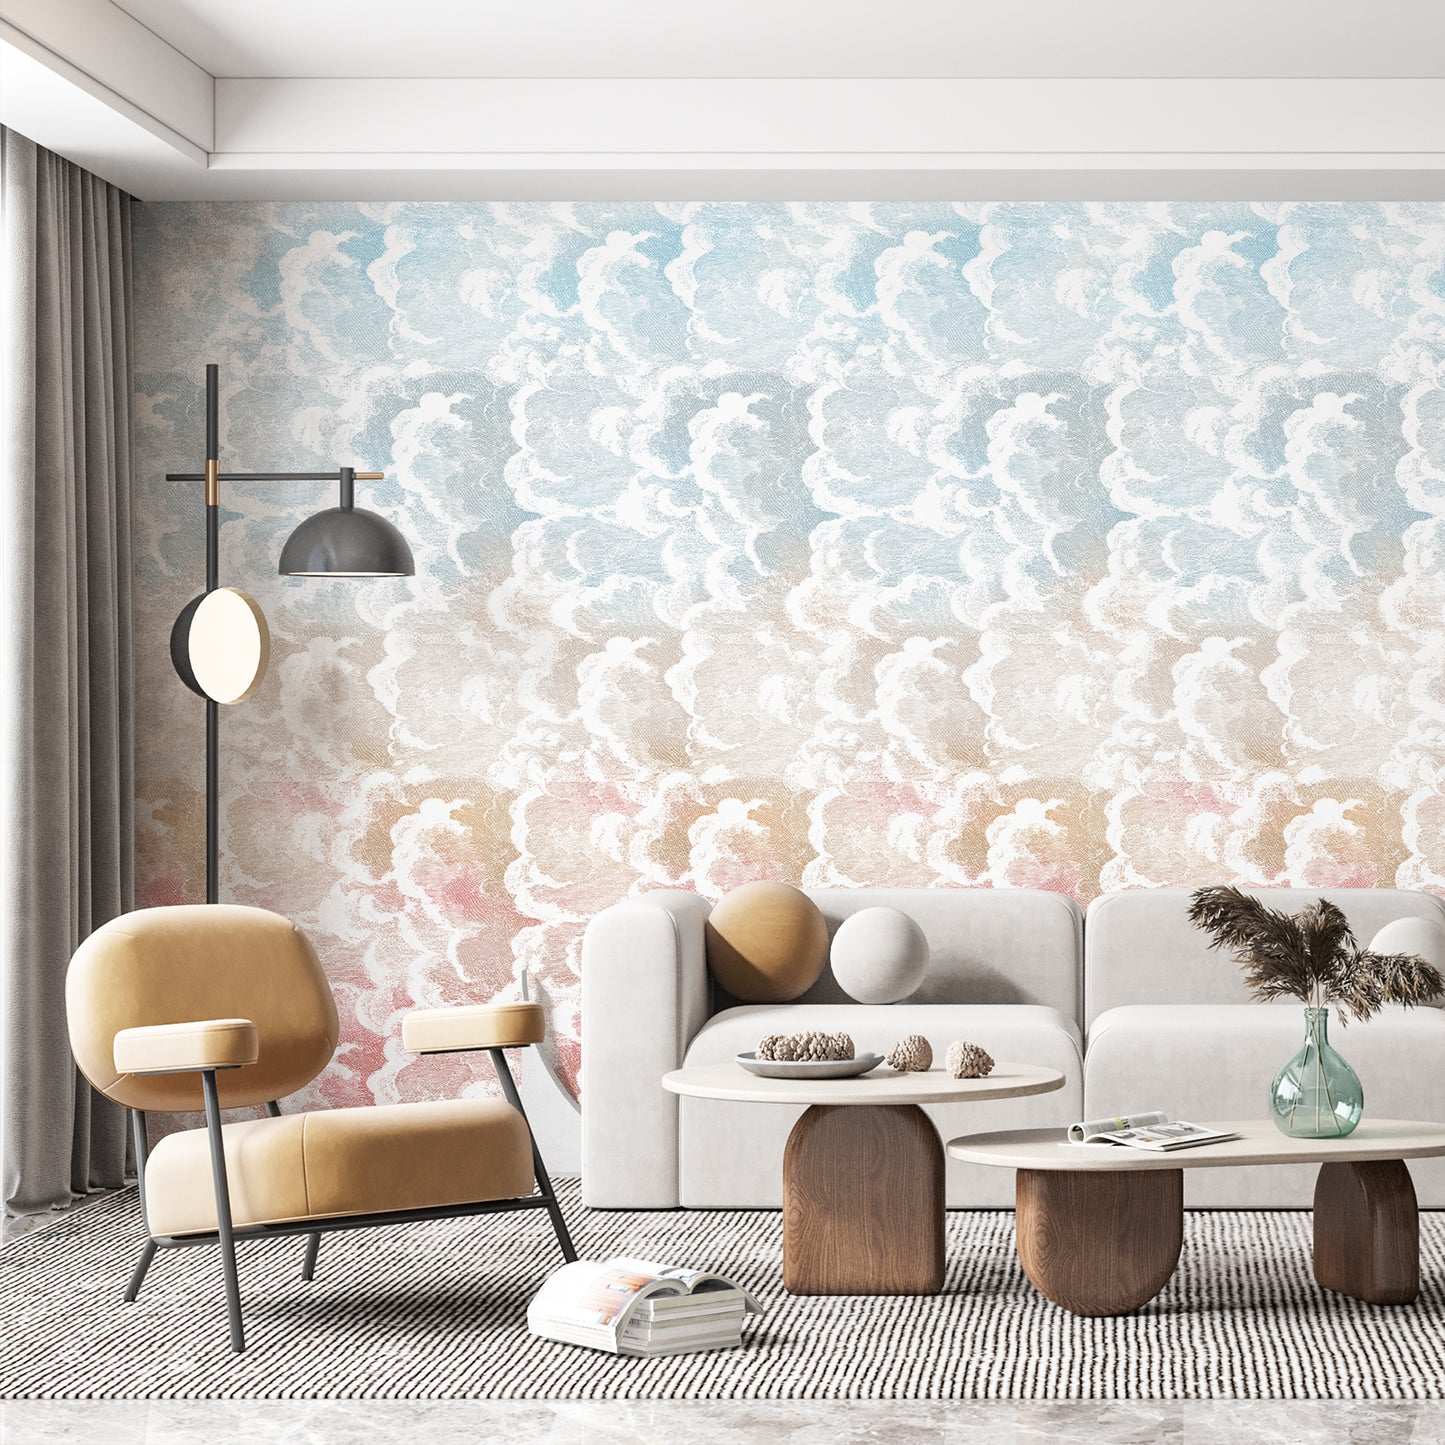
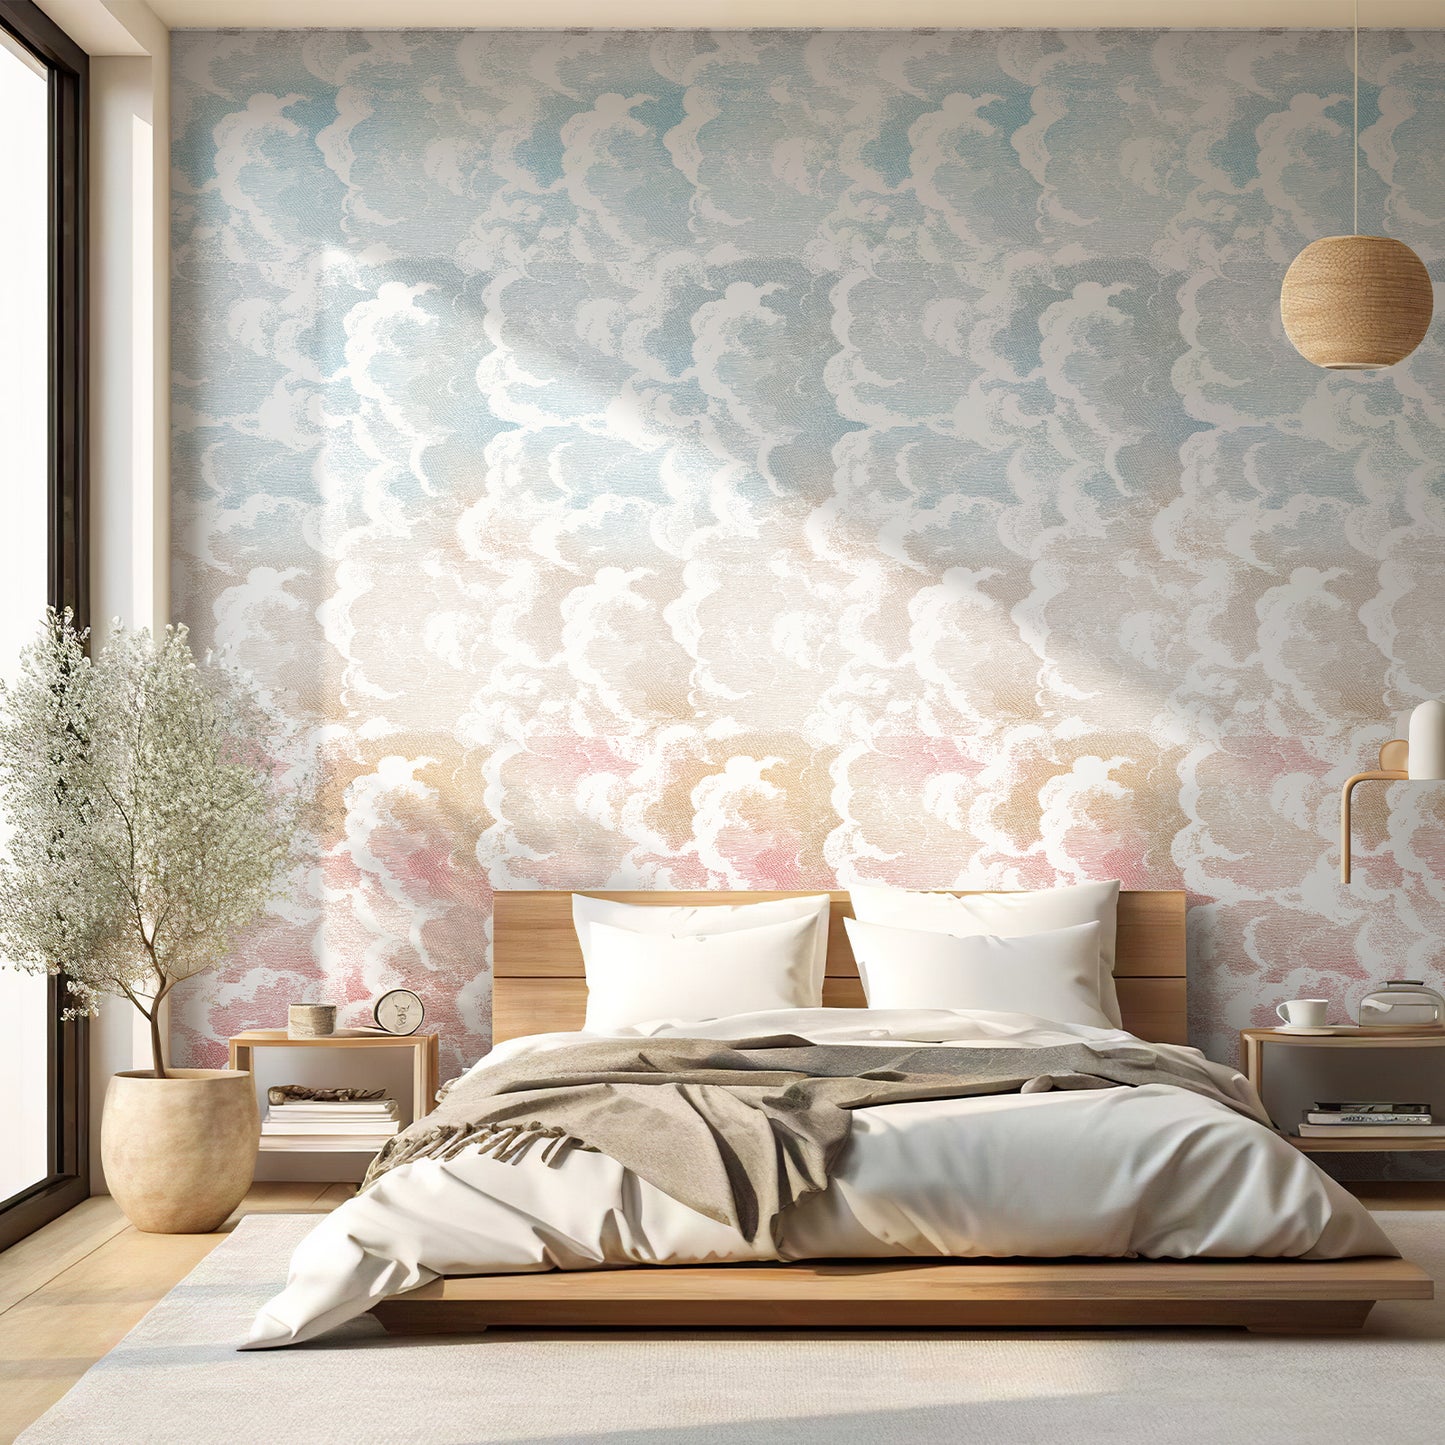
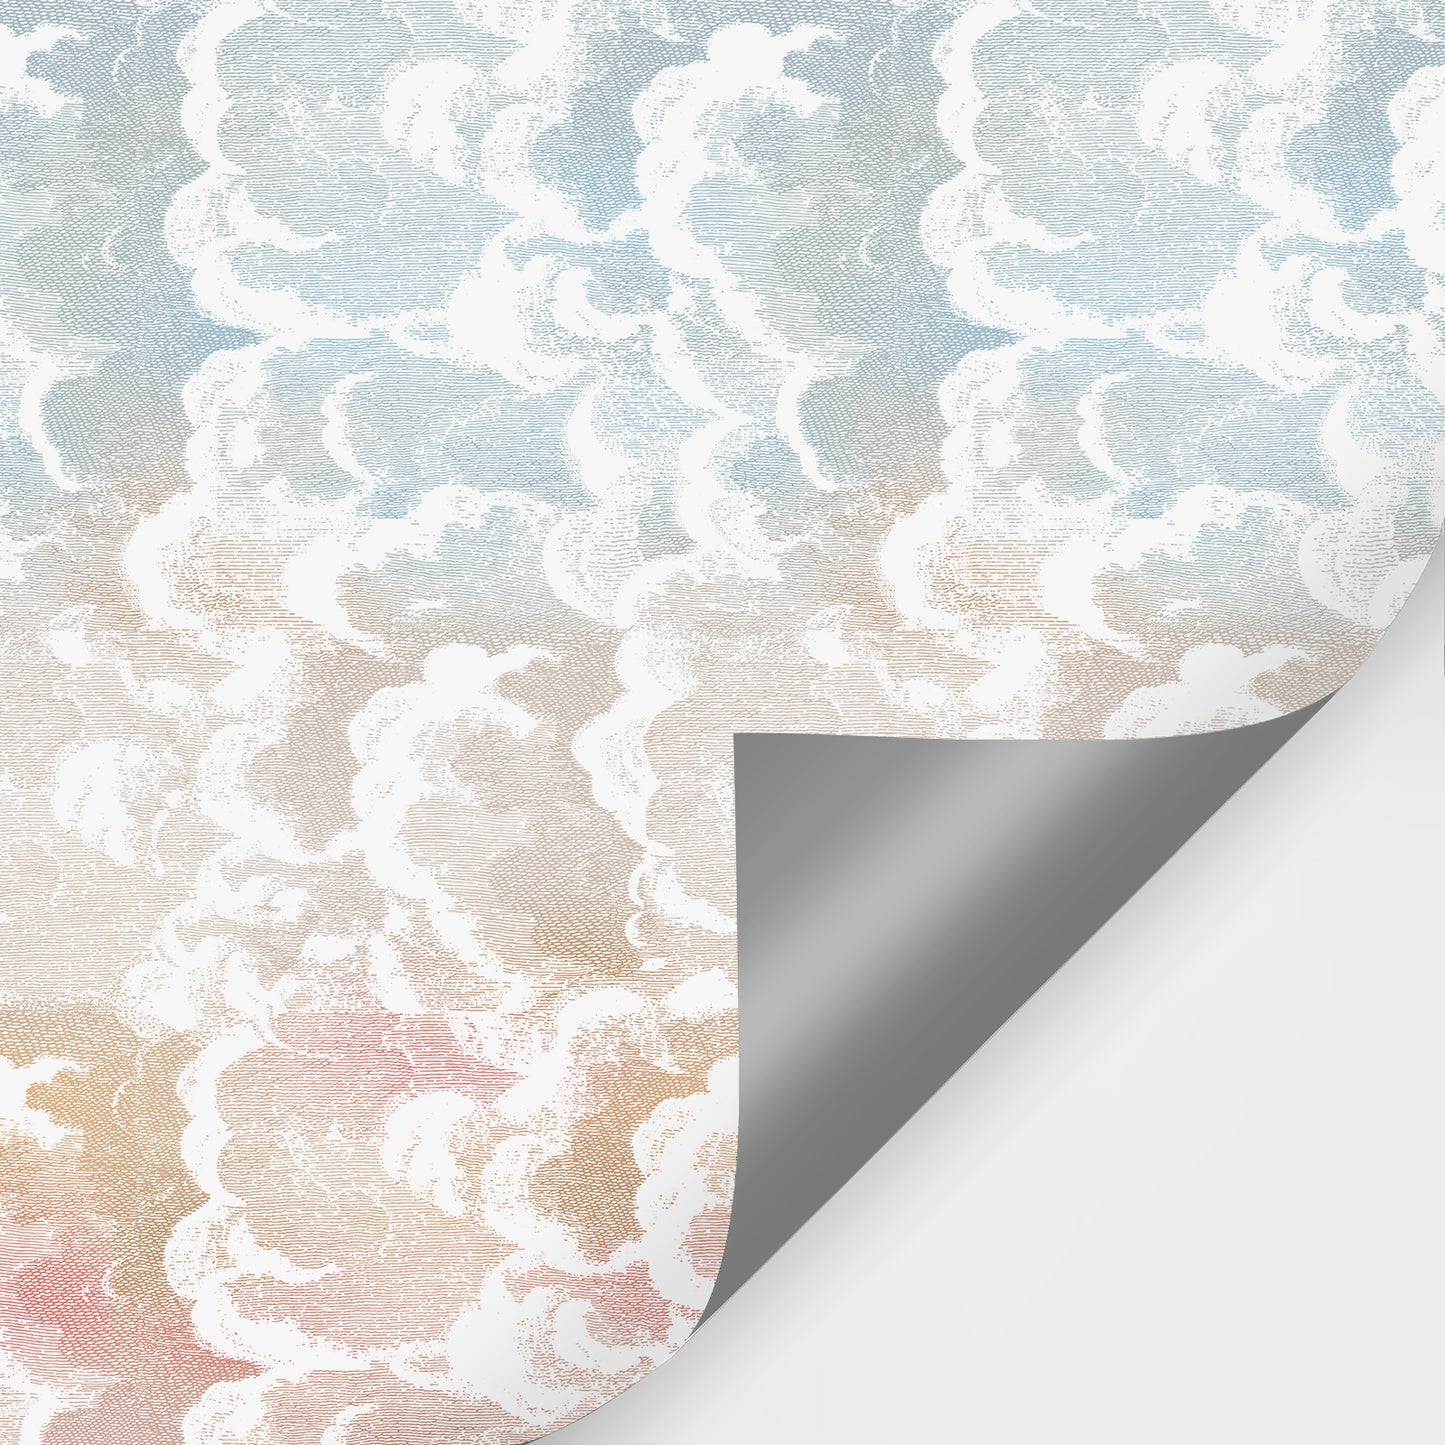
Cloud & Ocean Pink Wallpaper Mural
Couldn't load pickup availability
Please Pay Attention To...
Please Pay Attention To...
Note 1: The design color may differ a little from the actual one you see on the monitor/phone/tablet due to screen color settings.
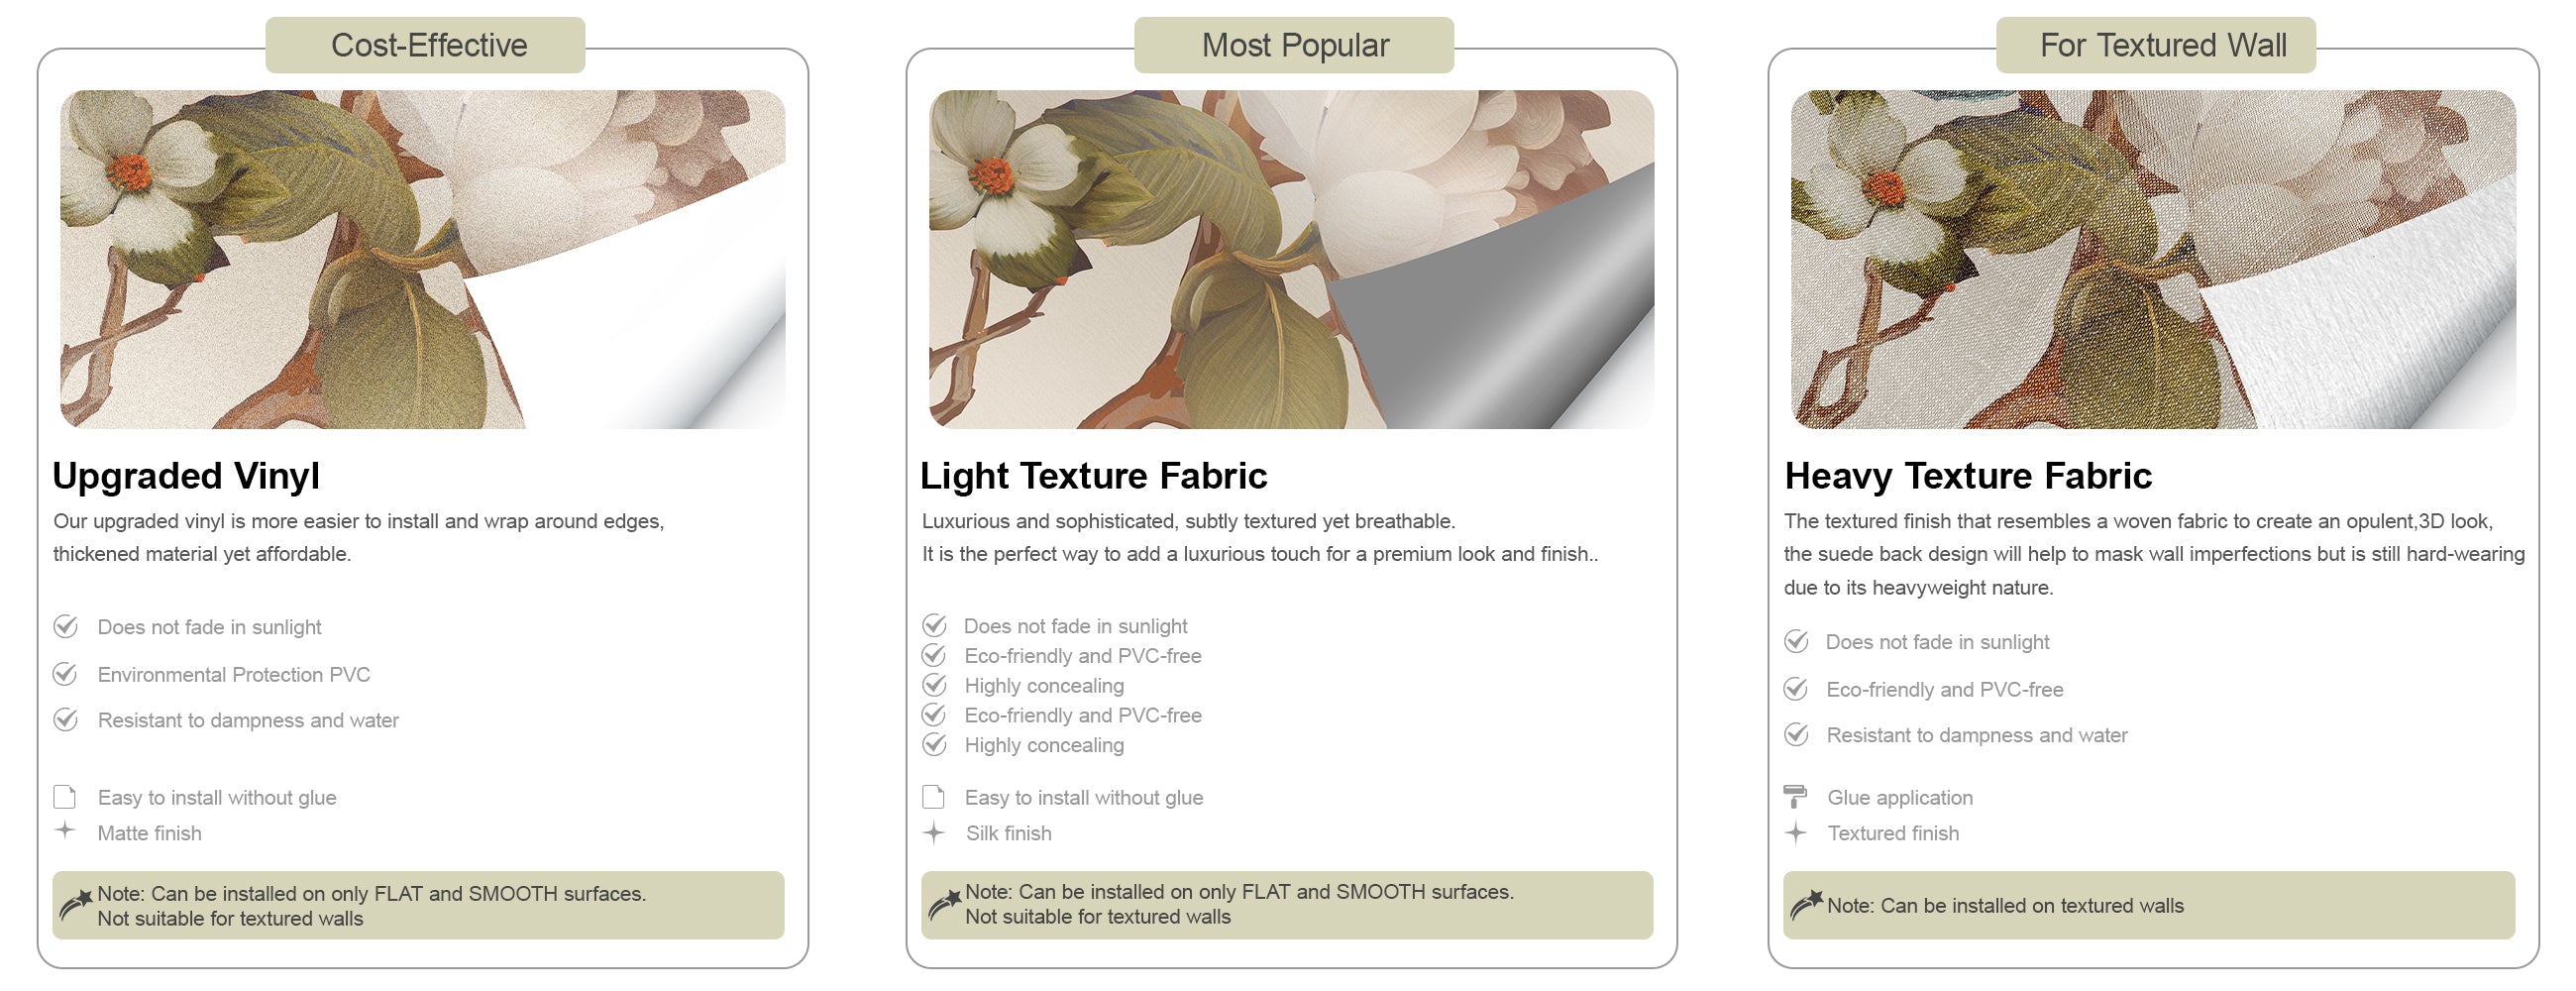
Note 2:Can be installed on only FLAT and SMOOTH surfaces. Not suitable for textured walls.
Note 3:Long-distance transportation may have some special ink odor, although it will not damage the human body, but please ventilate for about 2 days before Posting.
Delivery & Returns
Delivery & Returns
1. Free worldwide shipping; After we receive your order, the order processing time will be 2-3 business days. The shipping time will be 4-5 business days. It’ll be 7-9 business days in total.
2. If you want to cancel your order, please contact us (Email: support@zeekohome.com) within 24 hours after payment, we will cancel your order for free and give you a full refund, you will receive the refund within 72 hours after the cancellation. If the order is canceled more than 72 hours after payment, it will not be allowed to be canceled because it may already be in transit.


How It Works
Material Types
WALL MURALS - FAQs
How to measure?
Once you have decided which wallpaper you like, simply provide us with the height and width of the desired wall or walls to decorate. If you have a more complicated project, see the document below for tips on measuring your walls..
Standard Walls
Easy, just measure the height and width of your wall, and entering your dimensions in the calculator on your selected product pages, enter your width exactly as measured without the addition of any trim like skirting or covering.

Walls with Obstacles
Measure the whole width and height of the wall, ignoring any doors, windows, or other obstructions that will be covered up during installation. Easy!

Angled Walls
If your wall has two angles, find the longest section and measure its width and height. Again, your mural will be made in the form of a square or rectangle, and the cutouts will be made during the installation process if you need.

Slanted Walls
If taking measurements along a stair wall or ceiling with a slope, only the flattest, longest sections should be taken into account. As soon as the picture is hung as a whole square or rectangle, we can cut the slope if you need.

Multiple Walls
It's easy to order wallpaper when you just tally up the widths of all the walls you wish to paper and supply that one measurement. You can order the mural as a whole without having to split it off.

Should I fill in the size exactly as measured?
Our wallpapers are printed and divided into the number of panels exactly in accordance with the dimensions of your wall. No more wasted rolls and endless scraps! But we recommend that you could reserve 2-3 cm at the edge to avoid errors and possible wear during the posting process.

Can I make changes to my order after payment?
We are able to change the dimensions of your order at any point before payment is made. You can contact us via email: support@zeekohome.com. Unfortunately, once a mural has been paid for and your image proof approved, we can't accept any further changes.
Can I make some color changes to the mural I choose from your collection?
If you want to make some color changes to our original murals in your order, please email us via support@zeekohome.com, we will discuss the further details with you to see if it is possible.
HOW TO
Hang Peel & Stick Mural
HOW TO
Hang Non-Paste Mural
Installation Tips
-
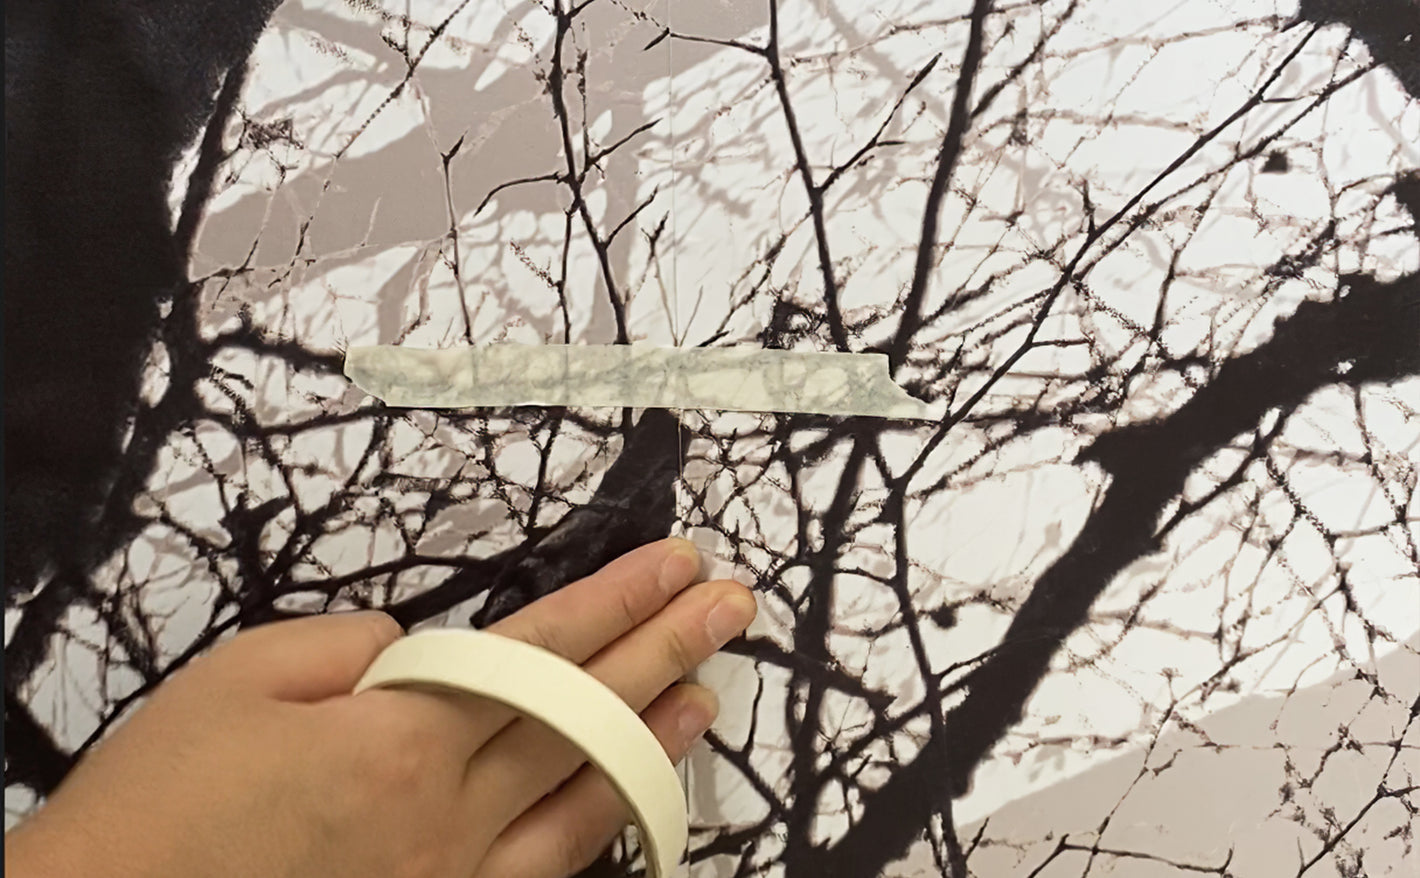
Location Matching
Useing masking tape is better for matching
-
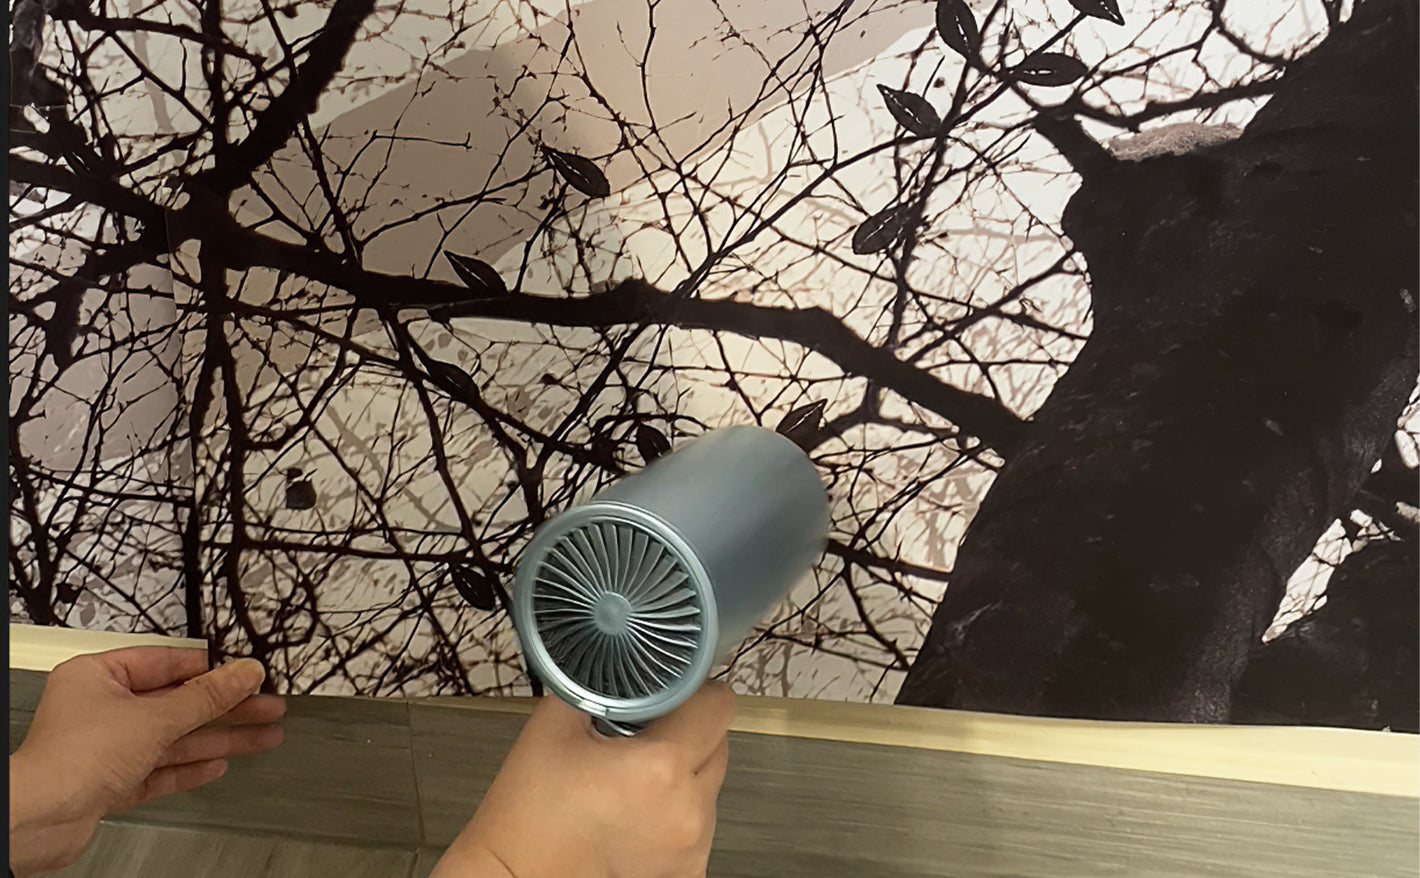
Remove Wrinkles
The heat from the hair dryer is amazing for smoothing out wrinkles.
-
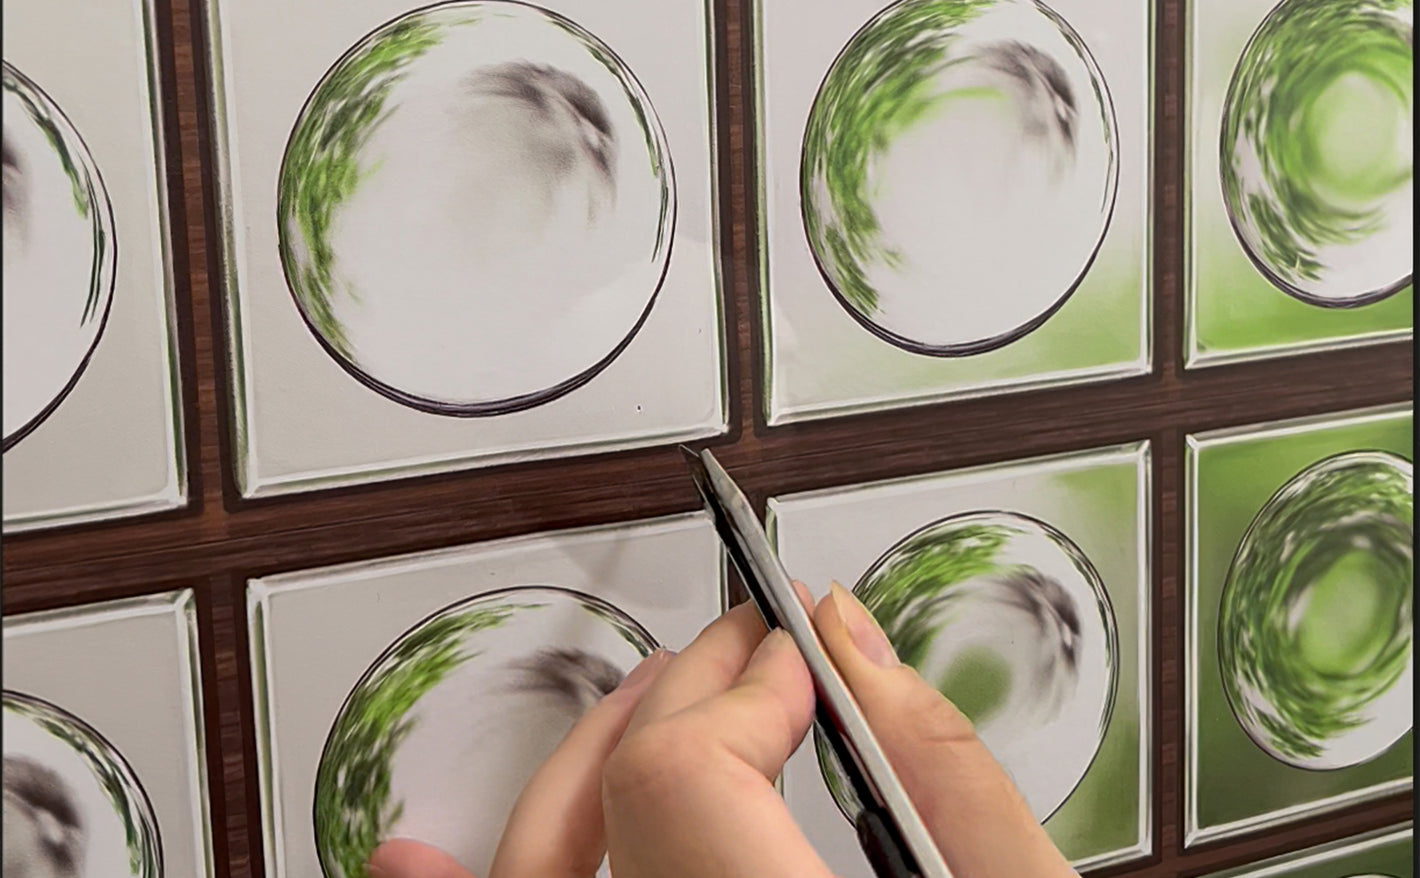
Remove Bubbles
Use a knife or needle to make a small hole in the bubble to remove it


